Workflow - Approval Process
To add a new workflow for approving items, perform these steps.
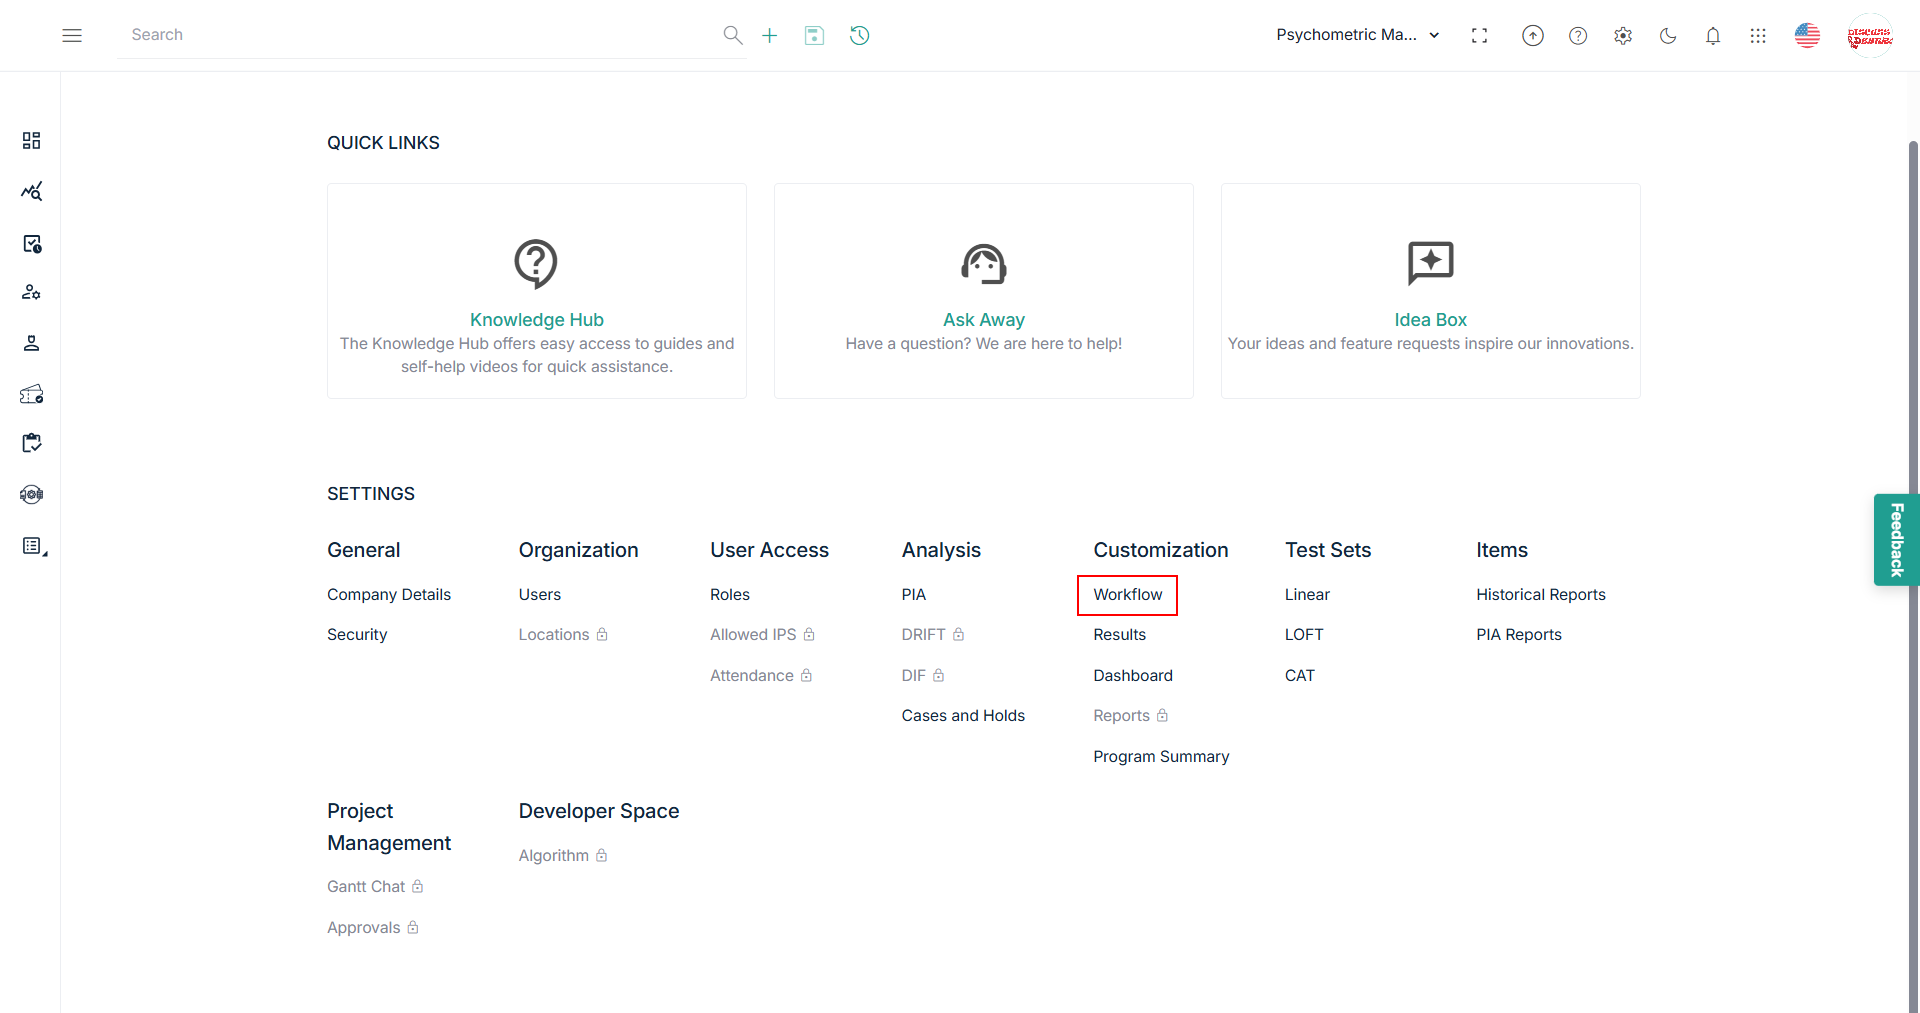
- Click Settings icon and navigate through the settings popup.
- Click Workflow under Customization section.
- View the Workflow Management page and click Add New Workflow.
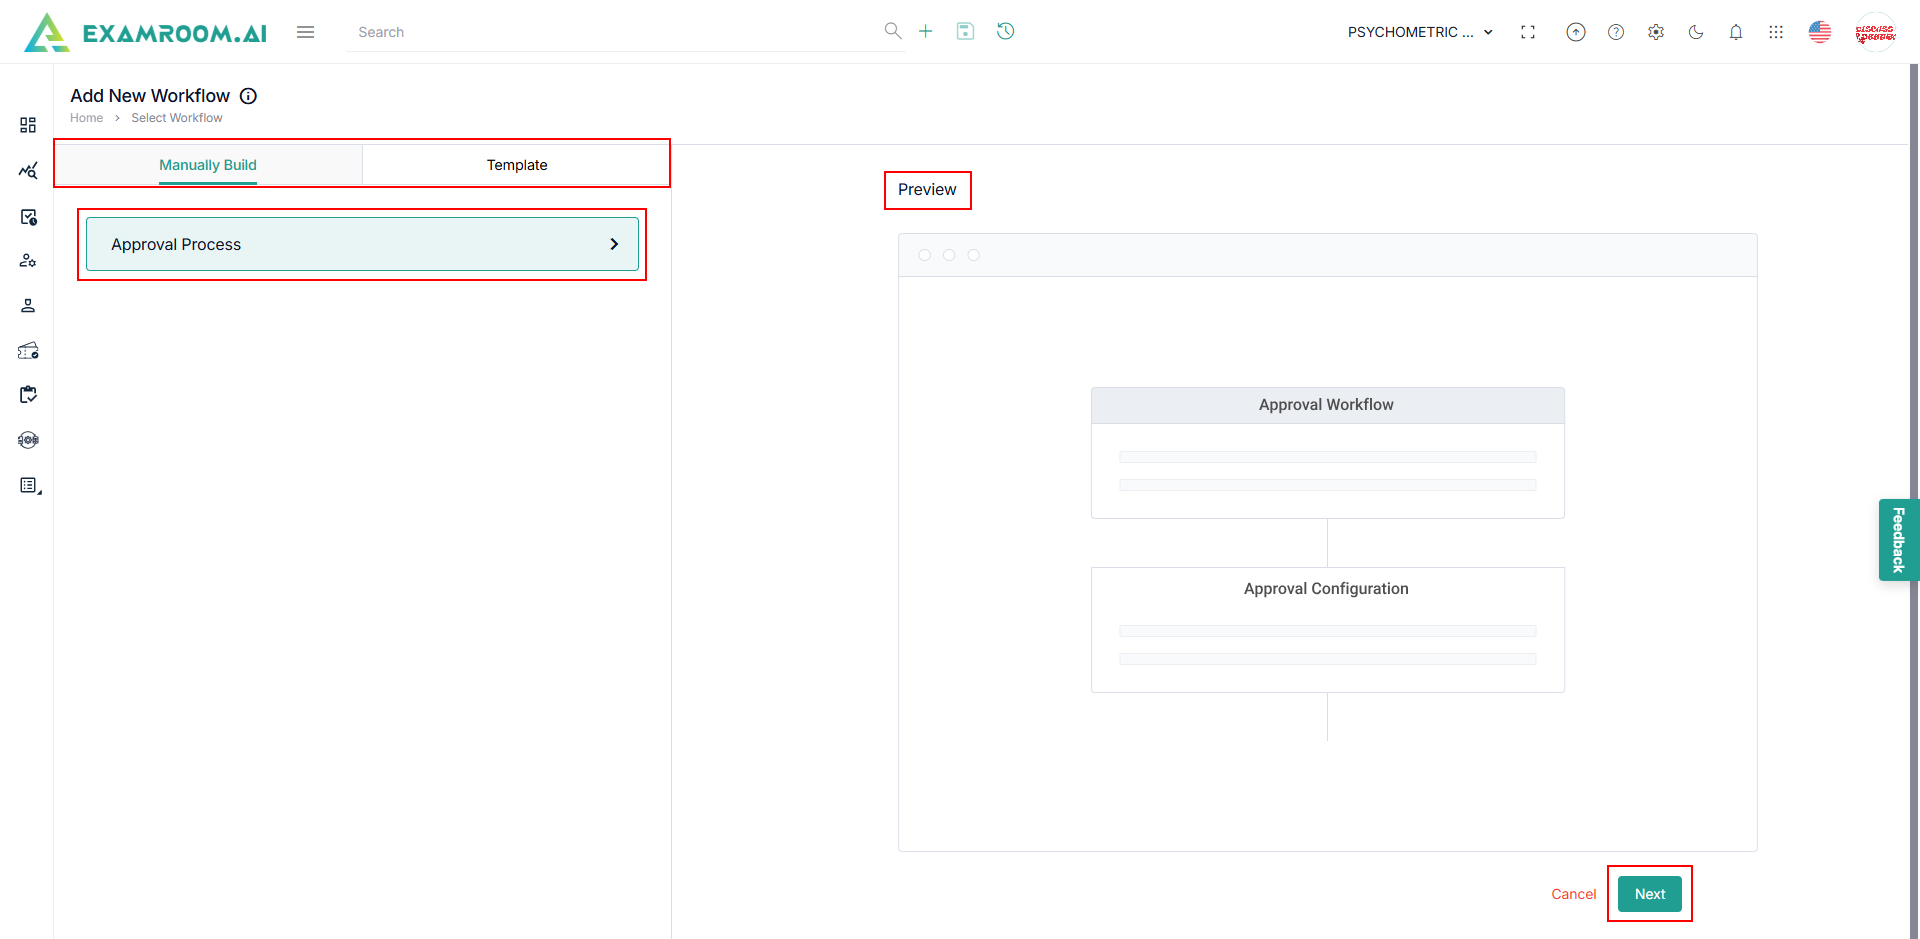
- View the Add New Workflow details displayed. The following is the information displayed on the Add Workflow page.
- Manual Build: The process of building a workflow manually, a preview of it is also simultaneously seen.
- Approval Process: This process can be used if there is a need to set up the rules for the approval process by the pre-defined role and user.
- Template: Provides a sample preview. – Coming Soon
- Manual Build: The process of building a workflow manually, a preview of it is also simultaneously seen.
- Select Approval Process to create a workflow for approval. In the preview, a template diagram is displayed.
- Click Next to start the Approval Process Workflow.
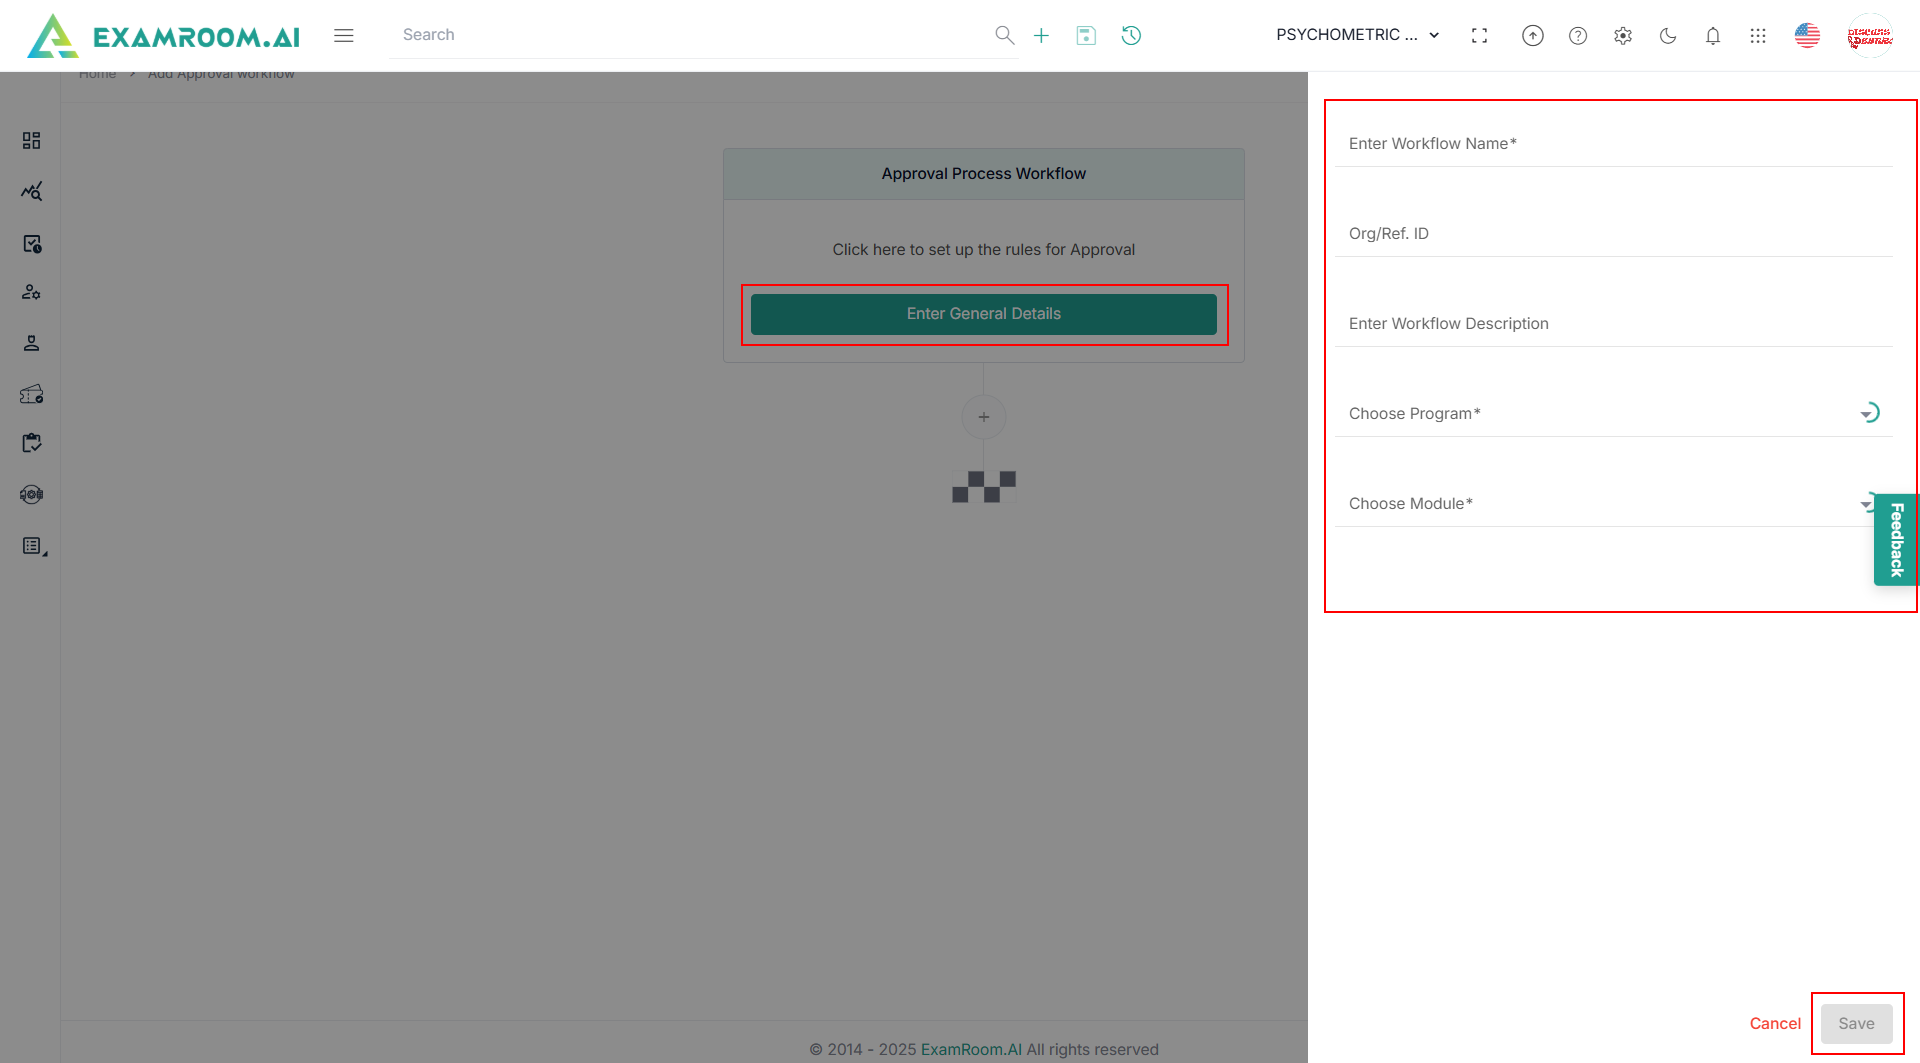
- Click Enter General Details and provide Enter Workflow Name, Org/Ref. ID, Enter Workflow Description, and Choose the Program.
- Choose Module from the dropdown and click Save.
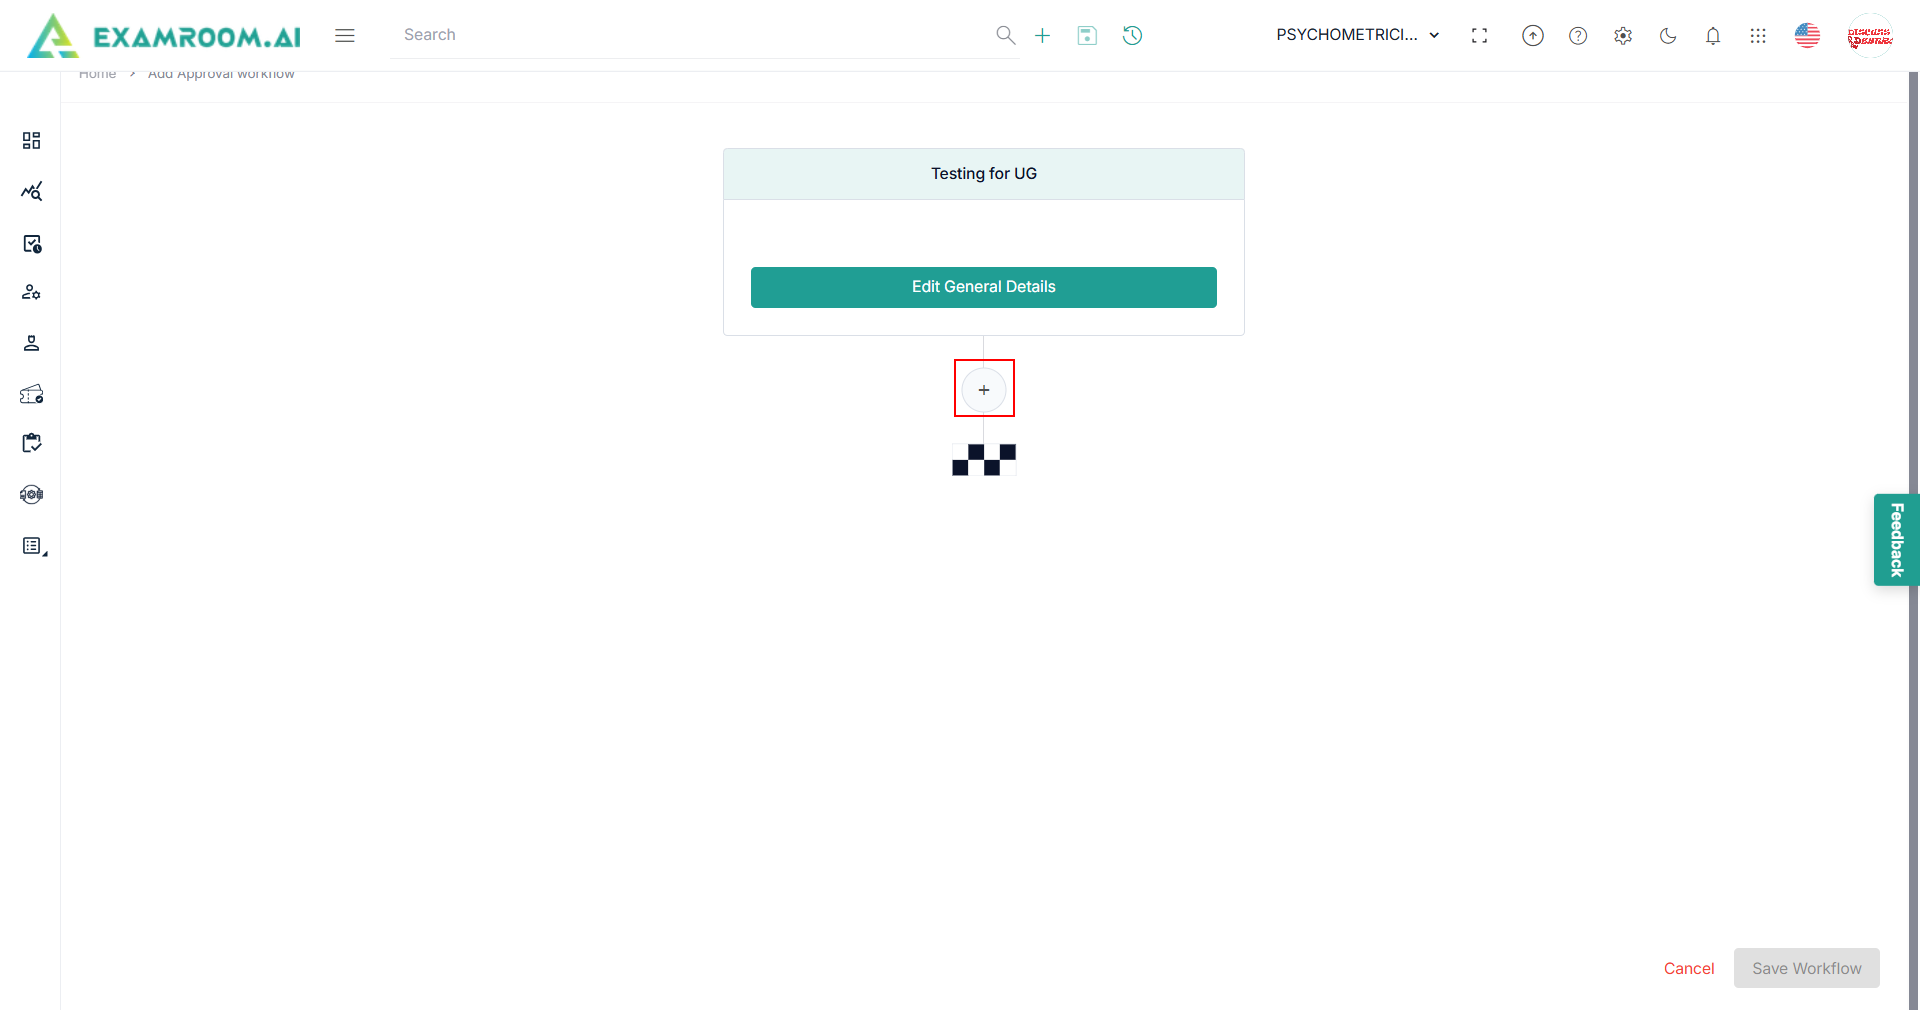
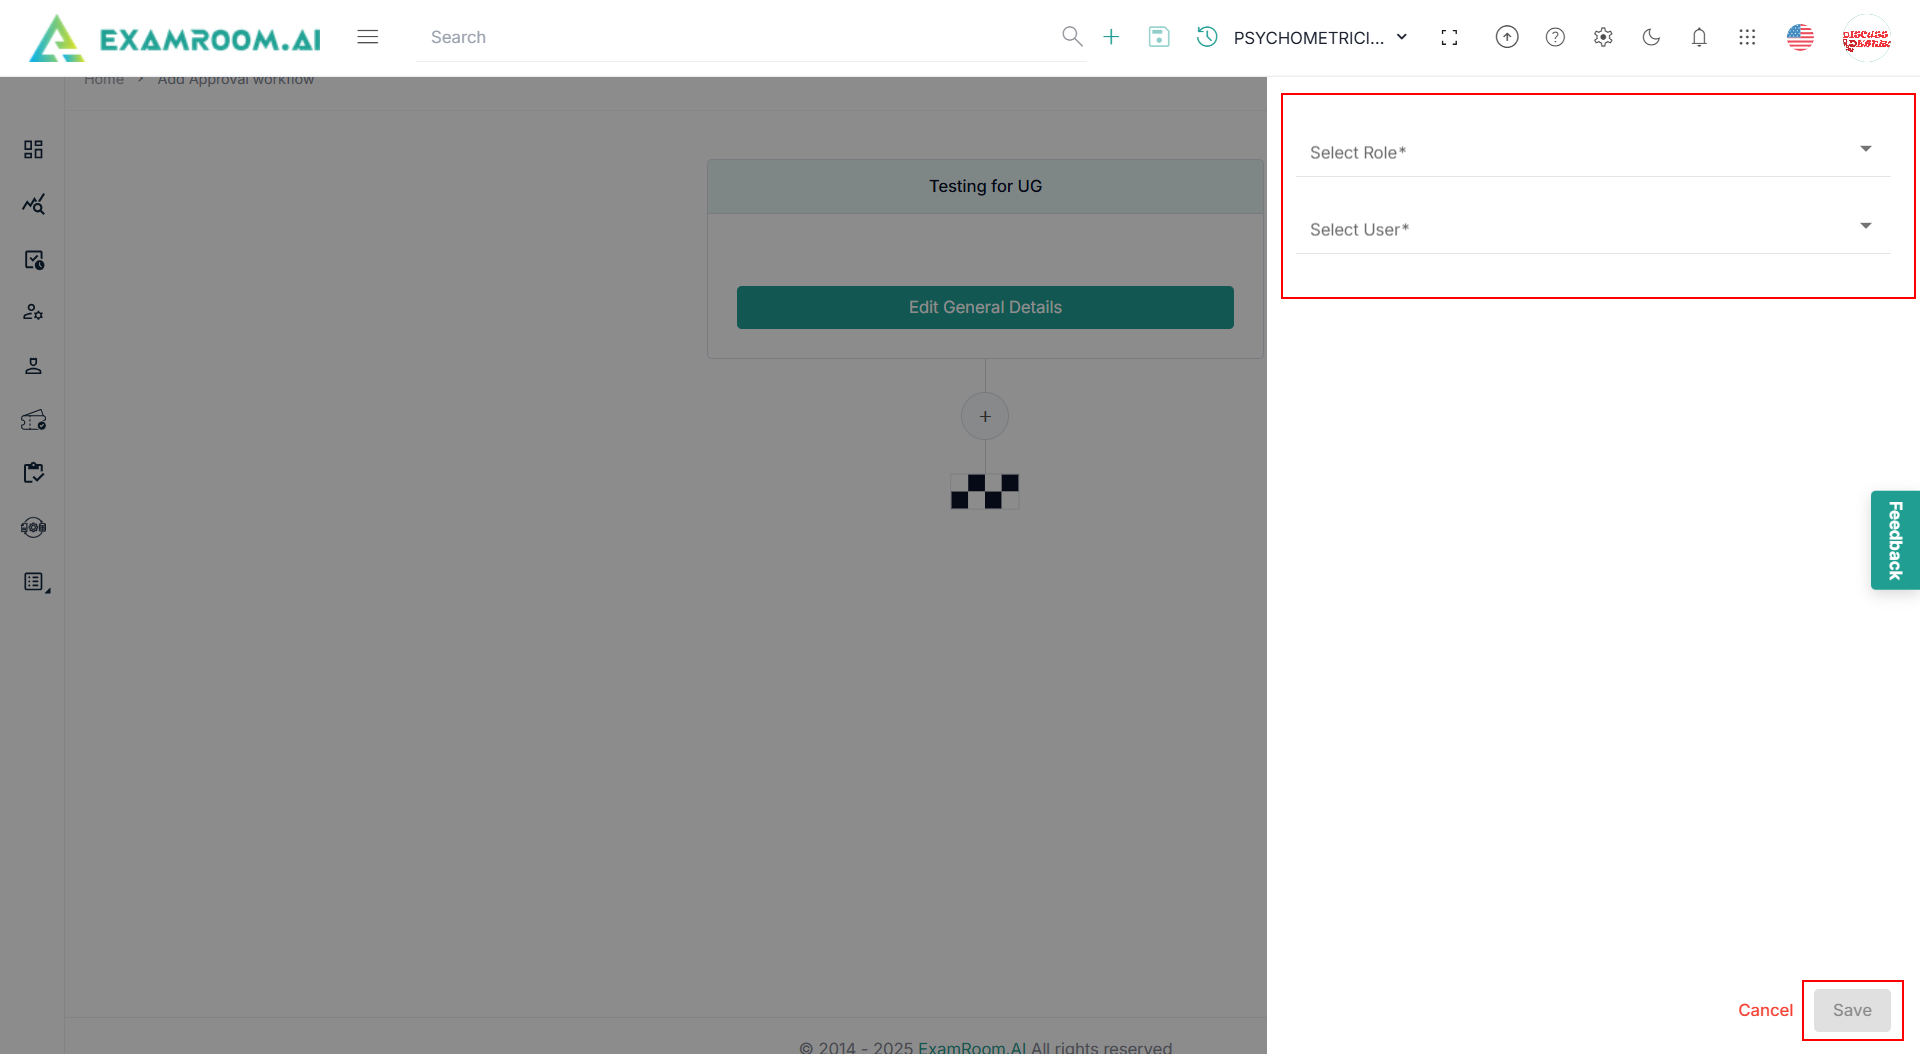
- Click the + icon below the Edit General Details section to add additional information.
- Select Role from the dropdown.
Note: Based on selected role, the system displays the user list. - Select User from the dropdown.
- Click Save to view the workflow created and its graphical representation.
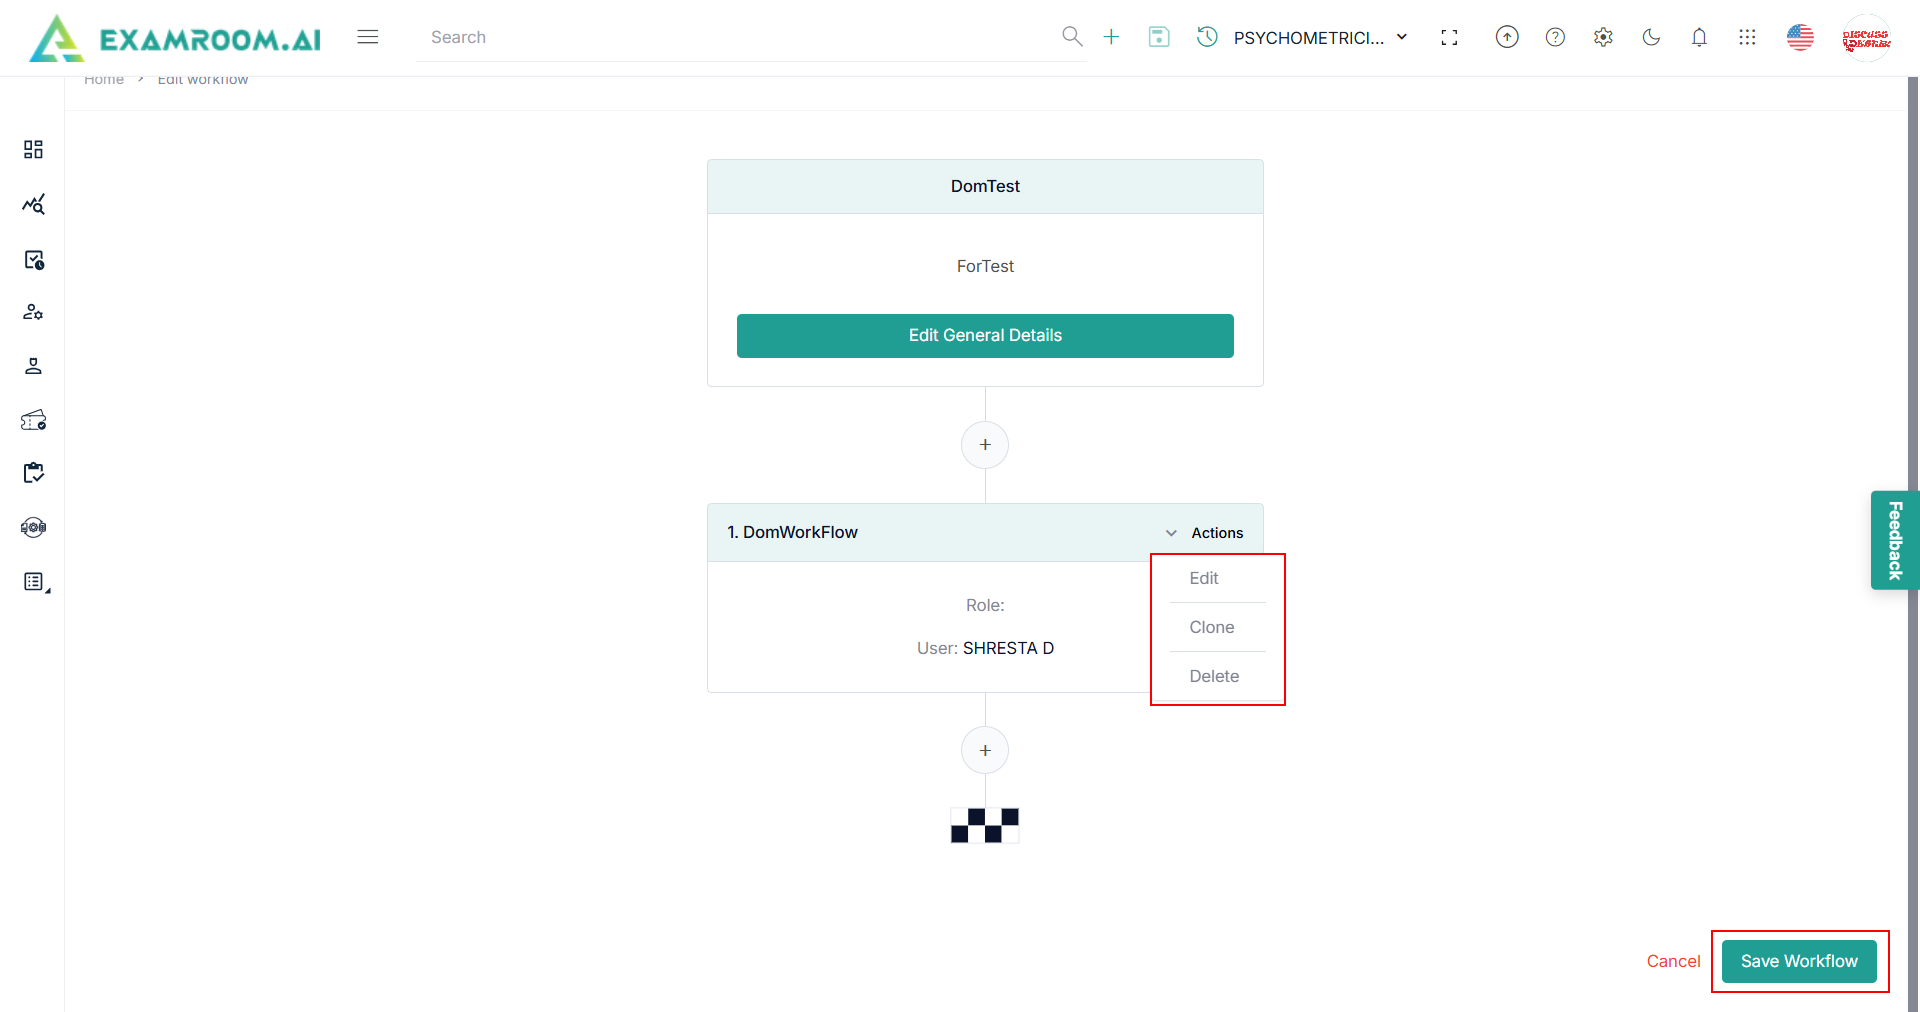
- Click Actions to Edit, Clone, Move, or Delete and make changes.
Note: The Move option should be displayed if there is more than one stage. - Click Save Workflow.